If you are to handle more than one chat at a time your administrator can set the amount of parallel chats you can get in ACE Admin. See All details in the User accounts window.
New chats from queues will be routed to you as soon as you have ended the wrap-up by clicking Terminate.
For a description of the window, areas and buttons see Work with chats in ACE Agent.
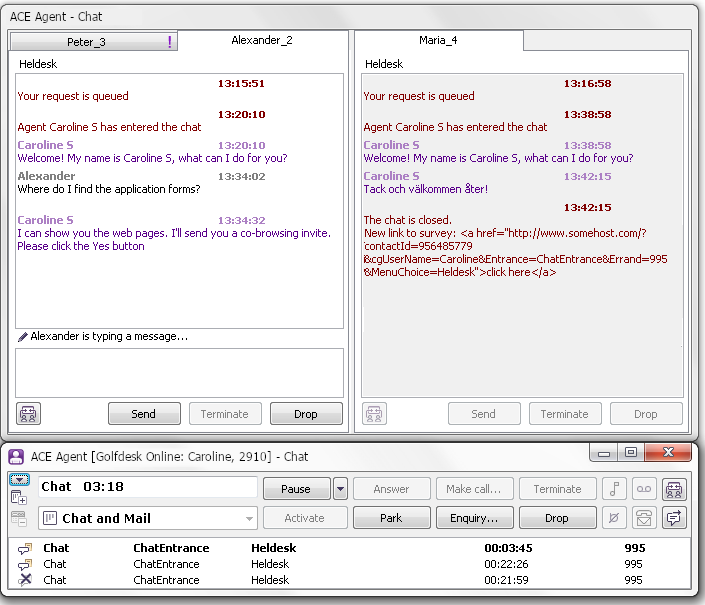
In this picture three accepted chats are displayed in two chat areas. To navigate between the chats you can use keyboard shortcuts, as described below.
Select the chat you want to work with by activating it, in any of the following ways. Previously active chat is automatically paused.
- Double-click on wanted chat contact in ACE Agent’s Contacts in progress area.
- Click in history or entry field. If the chat is hidden, click on the tab.
- Select from a list opened with a right-click above chat history or with Ctrl Shift C.
- Browse to next chat in same area using Ctrl Tab or go to a visible chat in the other area with Ctrl plus figure, where the figure is the area you want to switch to, such as 1 or 2. I.e. Ctrl 1 or Ctrl 2.
You can toggle between the chat window and ACE Agent’s main window with Ctrl Shift J.
The chat window is closed when you log out from the service for incoming chat, i.e. switch work level.