In the Chat entrances window you must specify what shall be seen by the customer and the agent in various modes.
The customer name presentation in the chat entries, to both the agent and the customer, is configured per chat entrance in ACE Admin.
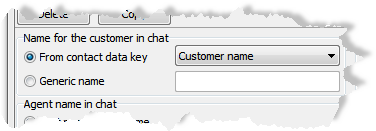
To the left in the window, under the Name for the customer in chat header, you choose how to present the customer in your chat history.
You choose whether the presentation of the customer should be:
In the Chat entrances window you must specify what shall be seen by the customer and the agent in various modes. Here how each respective chat shall be named in ACE Agent.
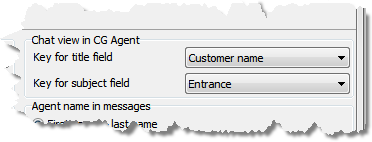
To the right in the Chat entrances window, under the Chat view in CG Agent header, you select the contact data keys to be used for giving each chat a unique title, and to show what the customer errand is. This is done in order to make it easier for the agents to separate the chats in case there should be several chats in progress.
The chat window in ACE Agent can show up to four simultaneous chats, just like the area for support functions in ACE Agent that can show up to four simultaneous support functions. The number of chats to be seen at the same time, is configured in Client settings in ACE Agent. If the agent is handling more chats than can be simultaneously shown, the excess chats are hidden. The hidden chats can be brought forward by the agent’s clicking on the appropriate tab.
The title of a tab is given a value from the contact data key that you select in the Key for title field drop-down menu in ACE Admin.
Under the title row there is a field where you can show e.g. what the customer enquiry is about. The field is given a value from the contact data key that you select in the Key for subject field drop-down menu in ACE Admin.
At the top of each chat in ACE Agent you find a header. In the example below Maria_4. This is seen even if the chat in question is hidden behind another chat, as the one named Peter_3
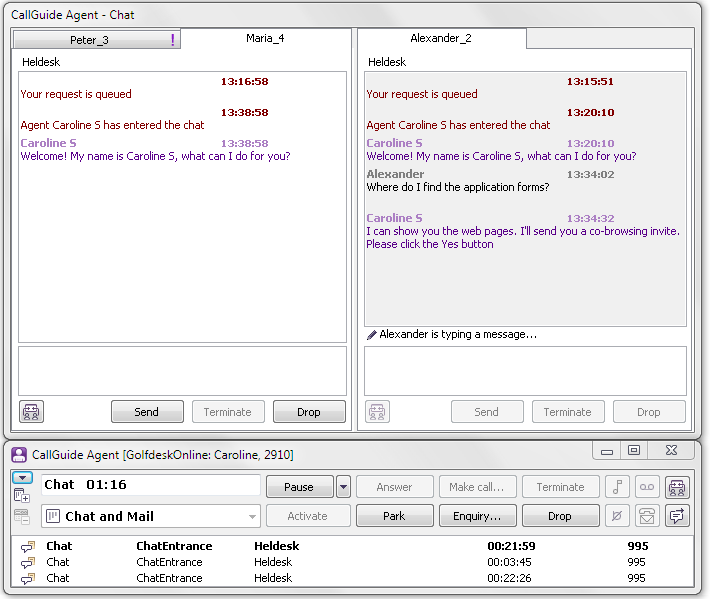
Under the title row you see what the customer enquiry is about; here seen as Helpdesk